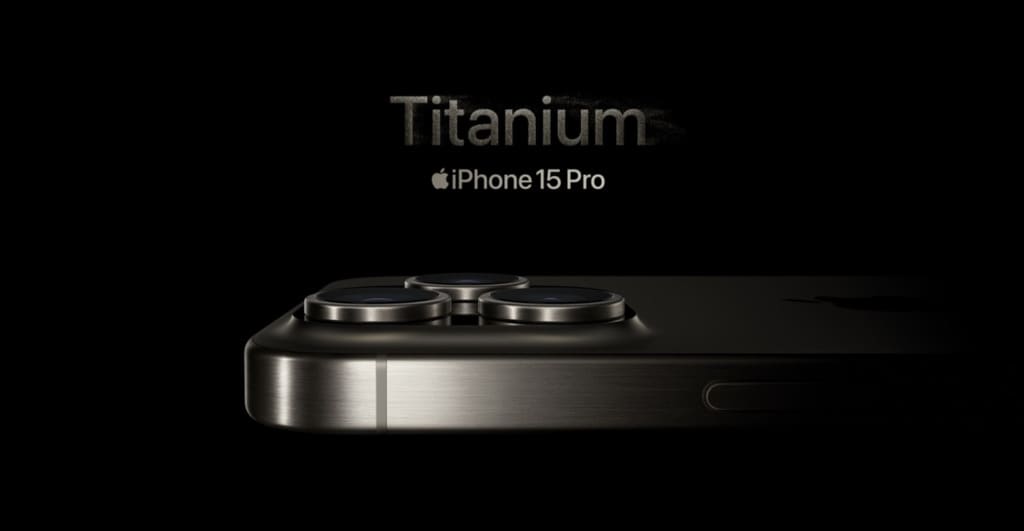
Gone are the days when capturing beautiful family photos meant carrying around a bulky camera and hoping you caught the shot. These days, most of us have an excellent camera that doubles as a phone, gaming machine, and Web browser all in one.
Smartphone cameras are only getting better. Not only is the hardware improving with the addition of support for high dynamic range (HDR), laser autofocus, and dual-lens cameras, but the software is improving, too. Most smartphone cameras boast plenty of manual-shooting features, not to mention a host of great apps and editing tools available to download.
How to take good photos with your phone
The first step in capturing a great shot is actually taking the photo. While you could simply turn on auto mode and take a shot, it’s worth learning a little about your camera’s settings. Keep in mind that this really only applies to phones with manual shooting modes. The stock iPhone and Google camera apps don’t have manual modes, but you can get manual shooting with third-party apps like VSCO.
With VSCO, simply open the camera portion of the app (which also offers editing tools), and controls like ISO and shutter speed will be available at the bottom of the screen. Here are a few settings to keep in mind:
- ISO speed determines how sensitive to light a camera sensor is. When you change the ISO, you’re changing the sensor’s sensitivity. A higher ISO means that a camera is more sensitive, which makes for a brighter shot, but the trade-off is that you also add some “noise”, or graininess, to your picture.
- Shutter speed determines how quickly your camera takes a photo. A higher shutter speed means the sensor will take a photo faster, resulting in less light being let in. A lower shutter speed lets more light in for the photo, but it takes longer, and if you move while taking the picture, it could create a blurry shot.
It’s worth pointing out that the focal point of a photo is where the photo will be clearest. With features like laser autofocus, your smartphone camera will automatically focus where it thinks the focal point of the shot is. However, simply tapping on the display allows you to change to where you think the focus should be.
Dual-lens cameras are becoming increasingly common on smartphones these days, and they make for the addition of a few new features. The most common new feature is Portrait Mode, which blurs the background of a shot to make the subject pop out more, making the image look like it was taken with a professional camera.
Camera filters and effects
After you’ve taken the photo itself, it’s worth looking into different camera filters and effects, which can change the color profile of your shot.
There are several reasons you might want to do this. First, it might simply make the photo look better. Apart from that, however, it could also make it look a little more stylish if, for example, you go for a black and white filter, or more vintage feel by using a sepia filter. There are lots of filters you can experiment with on any smartphone.
Accessing filters on your phone depends on the device you use. From the iPhone’s Photos app, you can access filters by selecting a photo, pressing the “Edit” button on the top right-hand corner, then selecting the filters button, which looks like three circles arranged in a Venn diagram.
In Google Photos, simply open a photo then tap the “Settings” icon on the bottom of the screen. You’ll then be presented with several different filters to choose from.
Once you’ve experimented with the camera filters, you might want to look at other effects, too. Not all stock camera apps offer many effects, but you might be acquainted with some effects through apps like Snapchat. With camera effects, you can do things like write text on a photo, add animated pictures, and more. It’s a great way to personalize a photo, especially if you’re planning to share it on social media. Camera effects should be available around the same place you found the filters – so in Apple Photos, tap the “Edit” button, and in Google Photos, tap that “Settings” button.
Photo editing apps
While you can edit your photos straight from your smartphone’s stock apps, it might be worth looking at some third-party photo editing apps that are out there, too.
One of the most popular photo editing apps for Android and iOS is VSCO, which is available for free with some in-app purchases. With VSCO, you can change the filters and have access to a host of editing tools, like the ability to change contrast, skew the photo, and more.
Another great app is Adobe Photoshop Express. Photoshop has become the standard for professional photographers around the world, and while the mobile version isn’t as full-fledged as the desktop version, you’ll still get great features like RAW support, the ability to adjust exposure, watermarking, and more.
Finally, Snapseed is a photo editing tool developed by Google. The app is free and offers a ton of professional-grade photo editing tools. You can change the photo’s vignette, blur, temperature, and more, plus you have access to “layers” tools, similar to what you can find in Photoshop.
The ability to capture great photos right from your phone makes it easier than ever to document those special (and fleeting) moments in life. By taking advantage of the advanced features your smartphone camera offers, the pictures you take will look better than ever.


